BLDC Motor Controller V2
A second BLDC motor controller design aiming to fix some of the issues with my last design with more conservative specs and a more thorough design process. Using a similar DRV8320, NTTFSSCH1D3N04XL FETs, INA241 for inline current sensing, and a STM32G474 MCU. Designed for operation at up to 24V 30A.
Specifications & Design Targets:
- Up to 24V operation
- 30A continuous current at stall, 50A+ peak phase current (transiently)
- Three-phase inline current sensing
- Phase voltage sensing for sensorless commutation
- On board encoder (MA702) to enable sensored FOC operation without any external components
- RS485 interface for sensor communication (capable of SSI over RS485 for external absolute encoder)
- CAN and serial interfaces for control
- 5V tolerant GPIO for interfacing with hall effect sensors
- Convenient form factor for mounting into a compact BLDC actuator design
- FETs located specifically for ease of cooling
- XT60 for power and MR60 for phase connections
- Specifically tuned for low ripple at a switching frequency of 24kHz
Development
Calculations:
Status
Currently, all features of the motor controller hardware work as intended, but not all features have firmware support yet. I decided to implement the FOC commutation algorithm and all of the filtering and controllers from scratch rather than using existing firmware or libraries such as VESC or SimpleFOC as a learning experience. Currently the motor controller supports current control mode and has an internal velocity control loop, both running at 25kHz. The controller communicates over CAN to software on my laptop - a python interface can be used to send commands and “enable” heartbeats. I also created an interface between the motor controller’s CAN messages and a Foxglove dashboard using rust for debugging and tuning the various filters and control loops.
Testing
I’ve spent a lot of time tuning and tweaking the firmware and test setup for this motor controller to make sure that the software and hardware is sufficiently robust for use as an actuator in a larger system. Currently, the torque controller and overcurrent protection is pretty solid, but the velocity loop leaves much to be desired. I think this is a combination of issues with the encoder (I’ve noticed some nonlinearity that needs to be calibrated out, and some issues with the stator field affecting the magnetic encoder in close proximity) as well as the NEO 2.0 being a motor with pretty high cogging torque, very noticeable rotor slot affects and backEMF more suited to trapezoidal control.
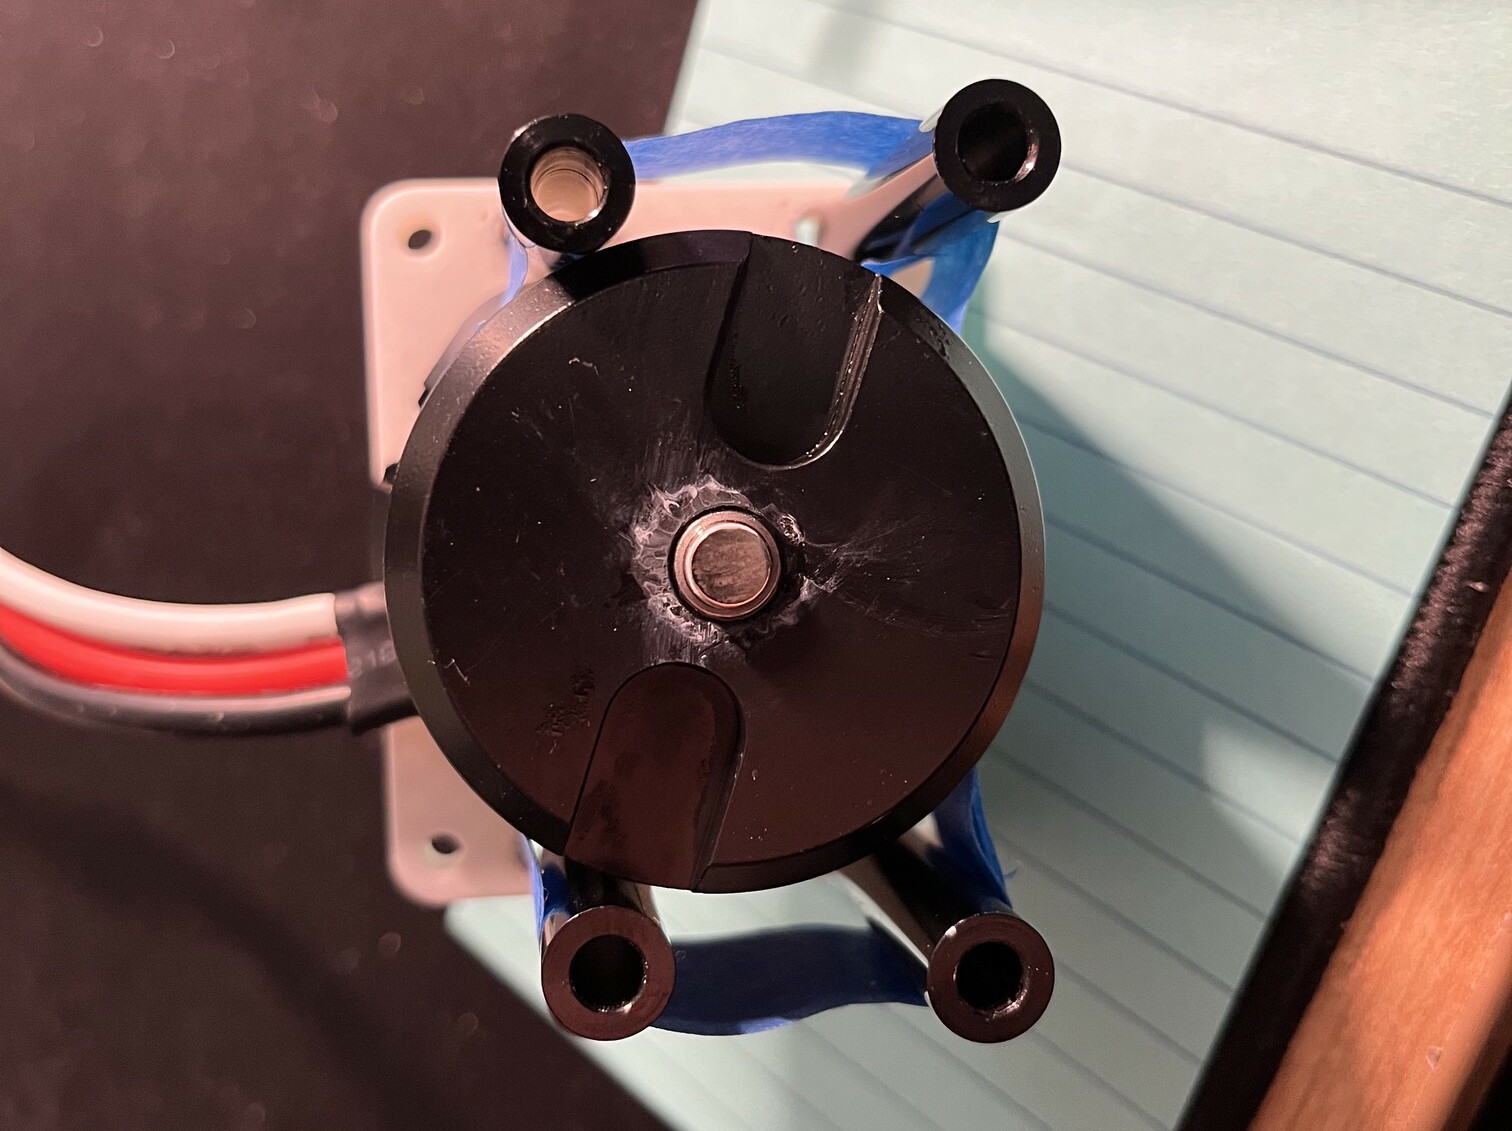
Position sensor magnet on the back shell of the motor - I needed to superglue an additional magnet on top of the one embedded in the motor’s shaft to get an acceptably strong field for the MA732
Using an ODrive S1, an identical NEO 2.0 motor, and a AMT103 encoder I created a sort of mini dyno/load-test rig for controllably and consistently loading the motor and motor controller at various speeds. This is very helpful since the ODrive can regenerate into the same DC bus and much higher power can flow from BLDC V2 -> NEO -> NEO -> ODrive and back around the loop, with my power supply only making up for the losses in the system.
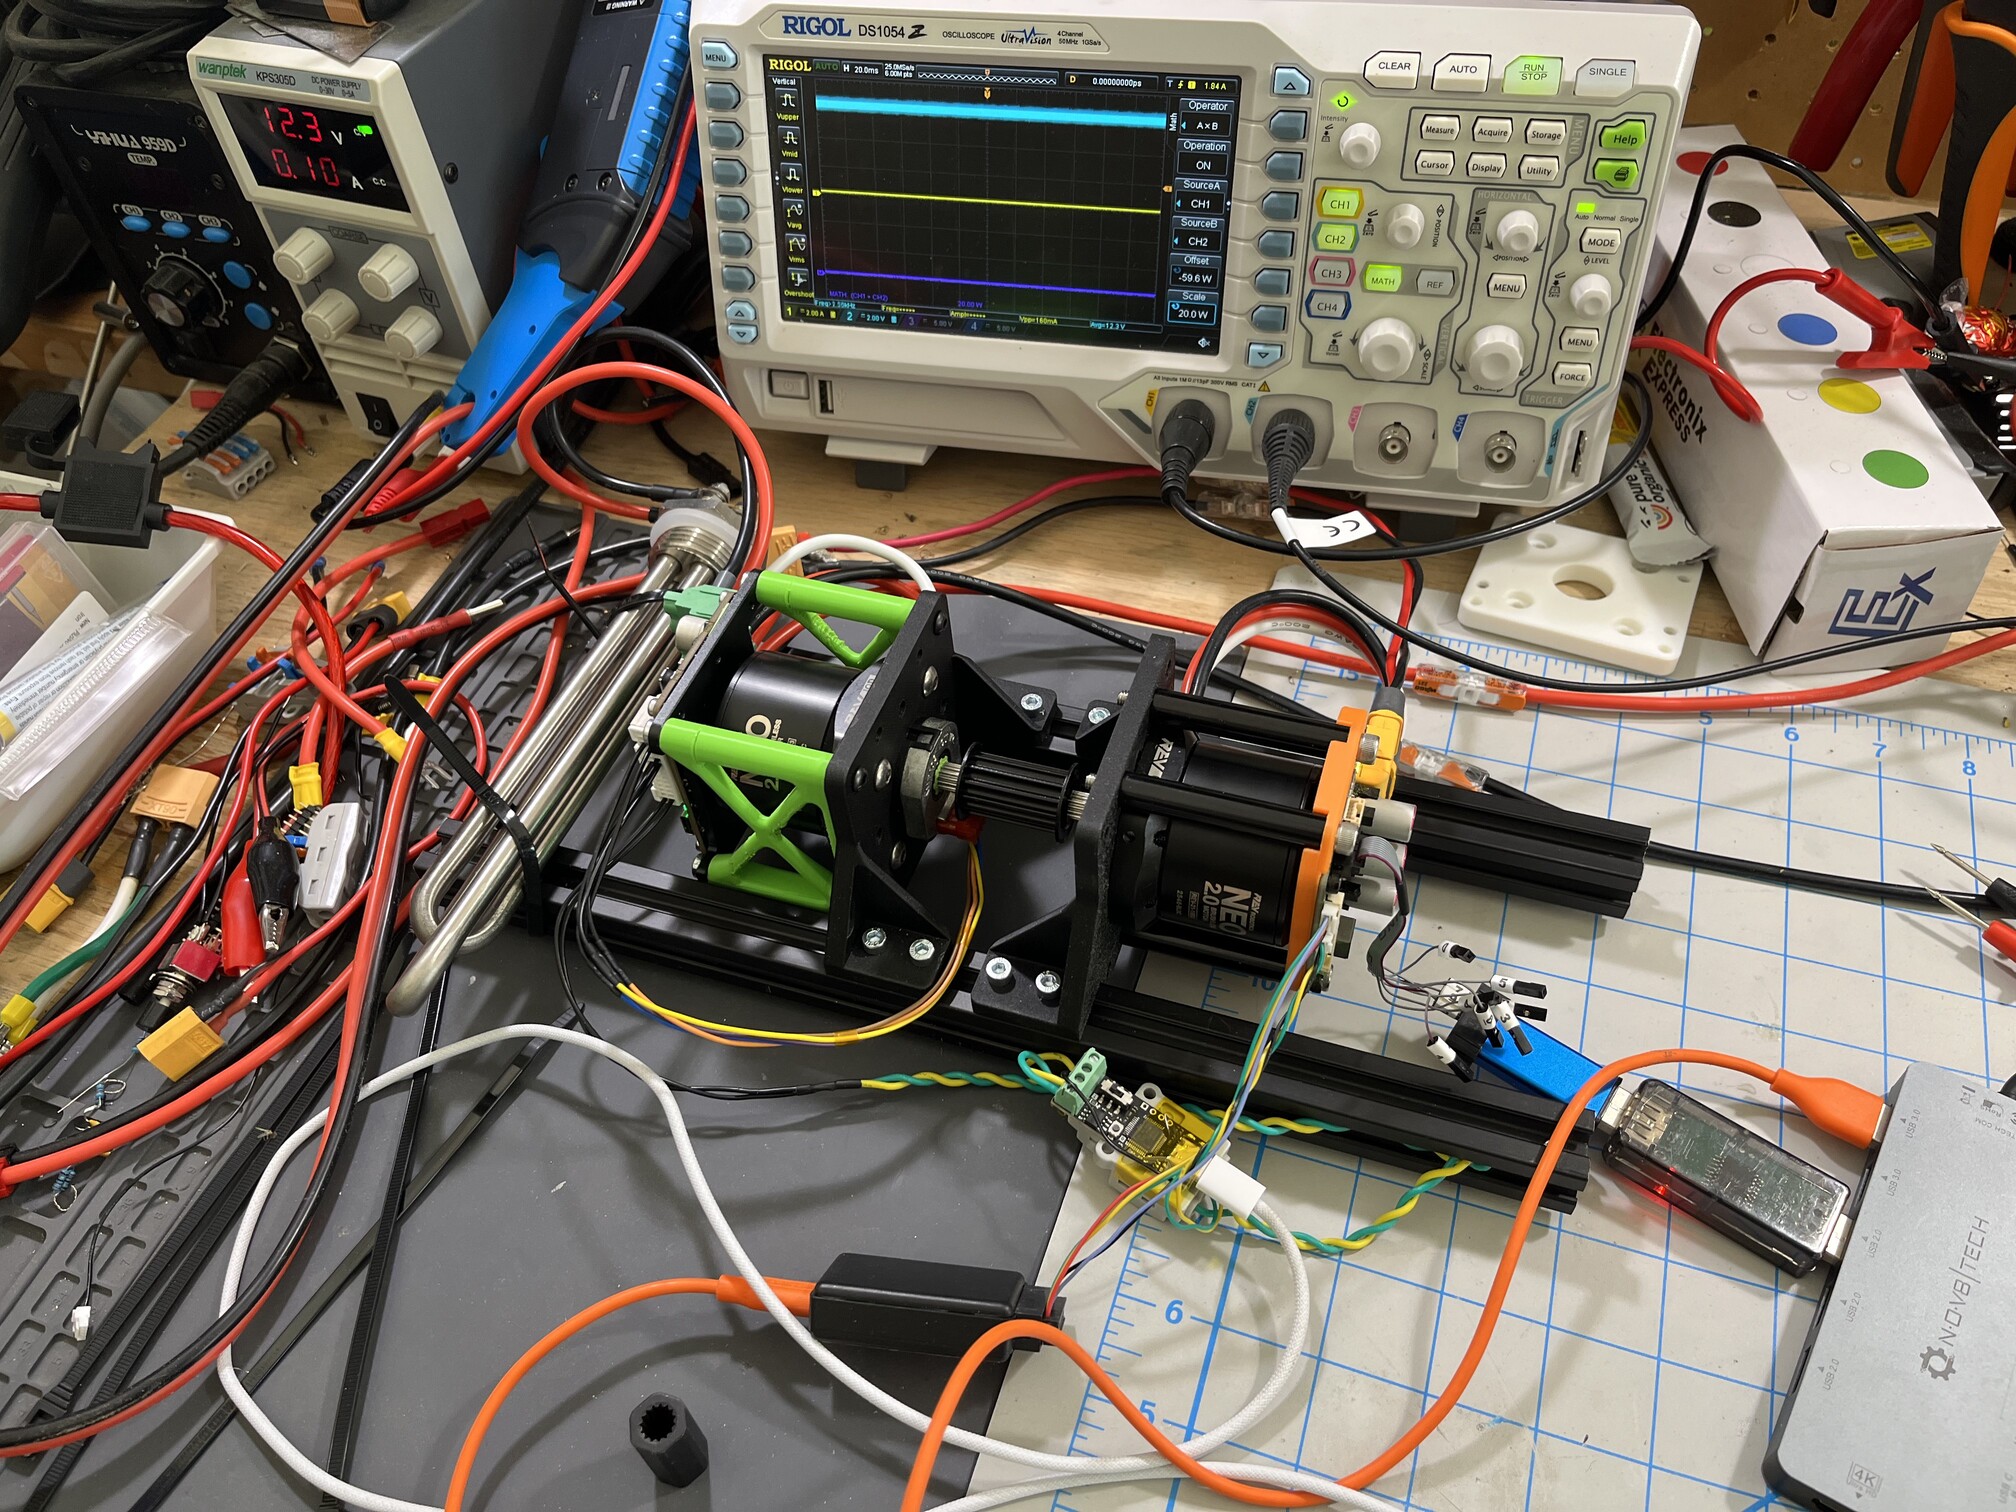
Mini dyno setup
Gallery
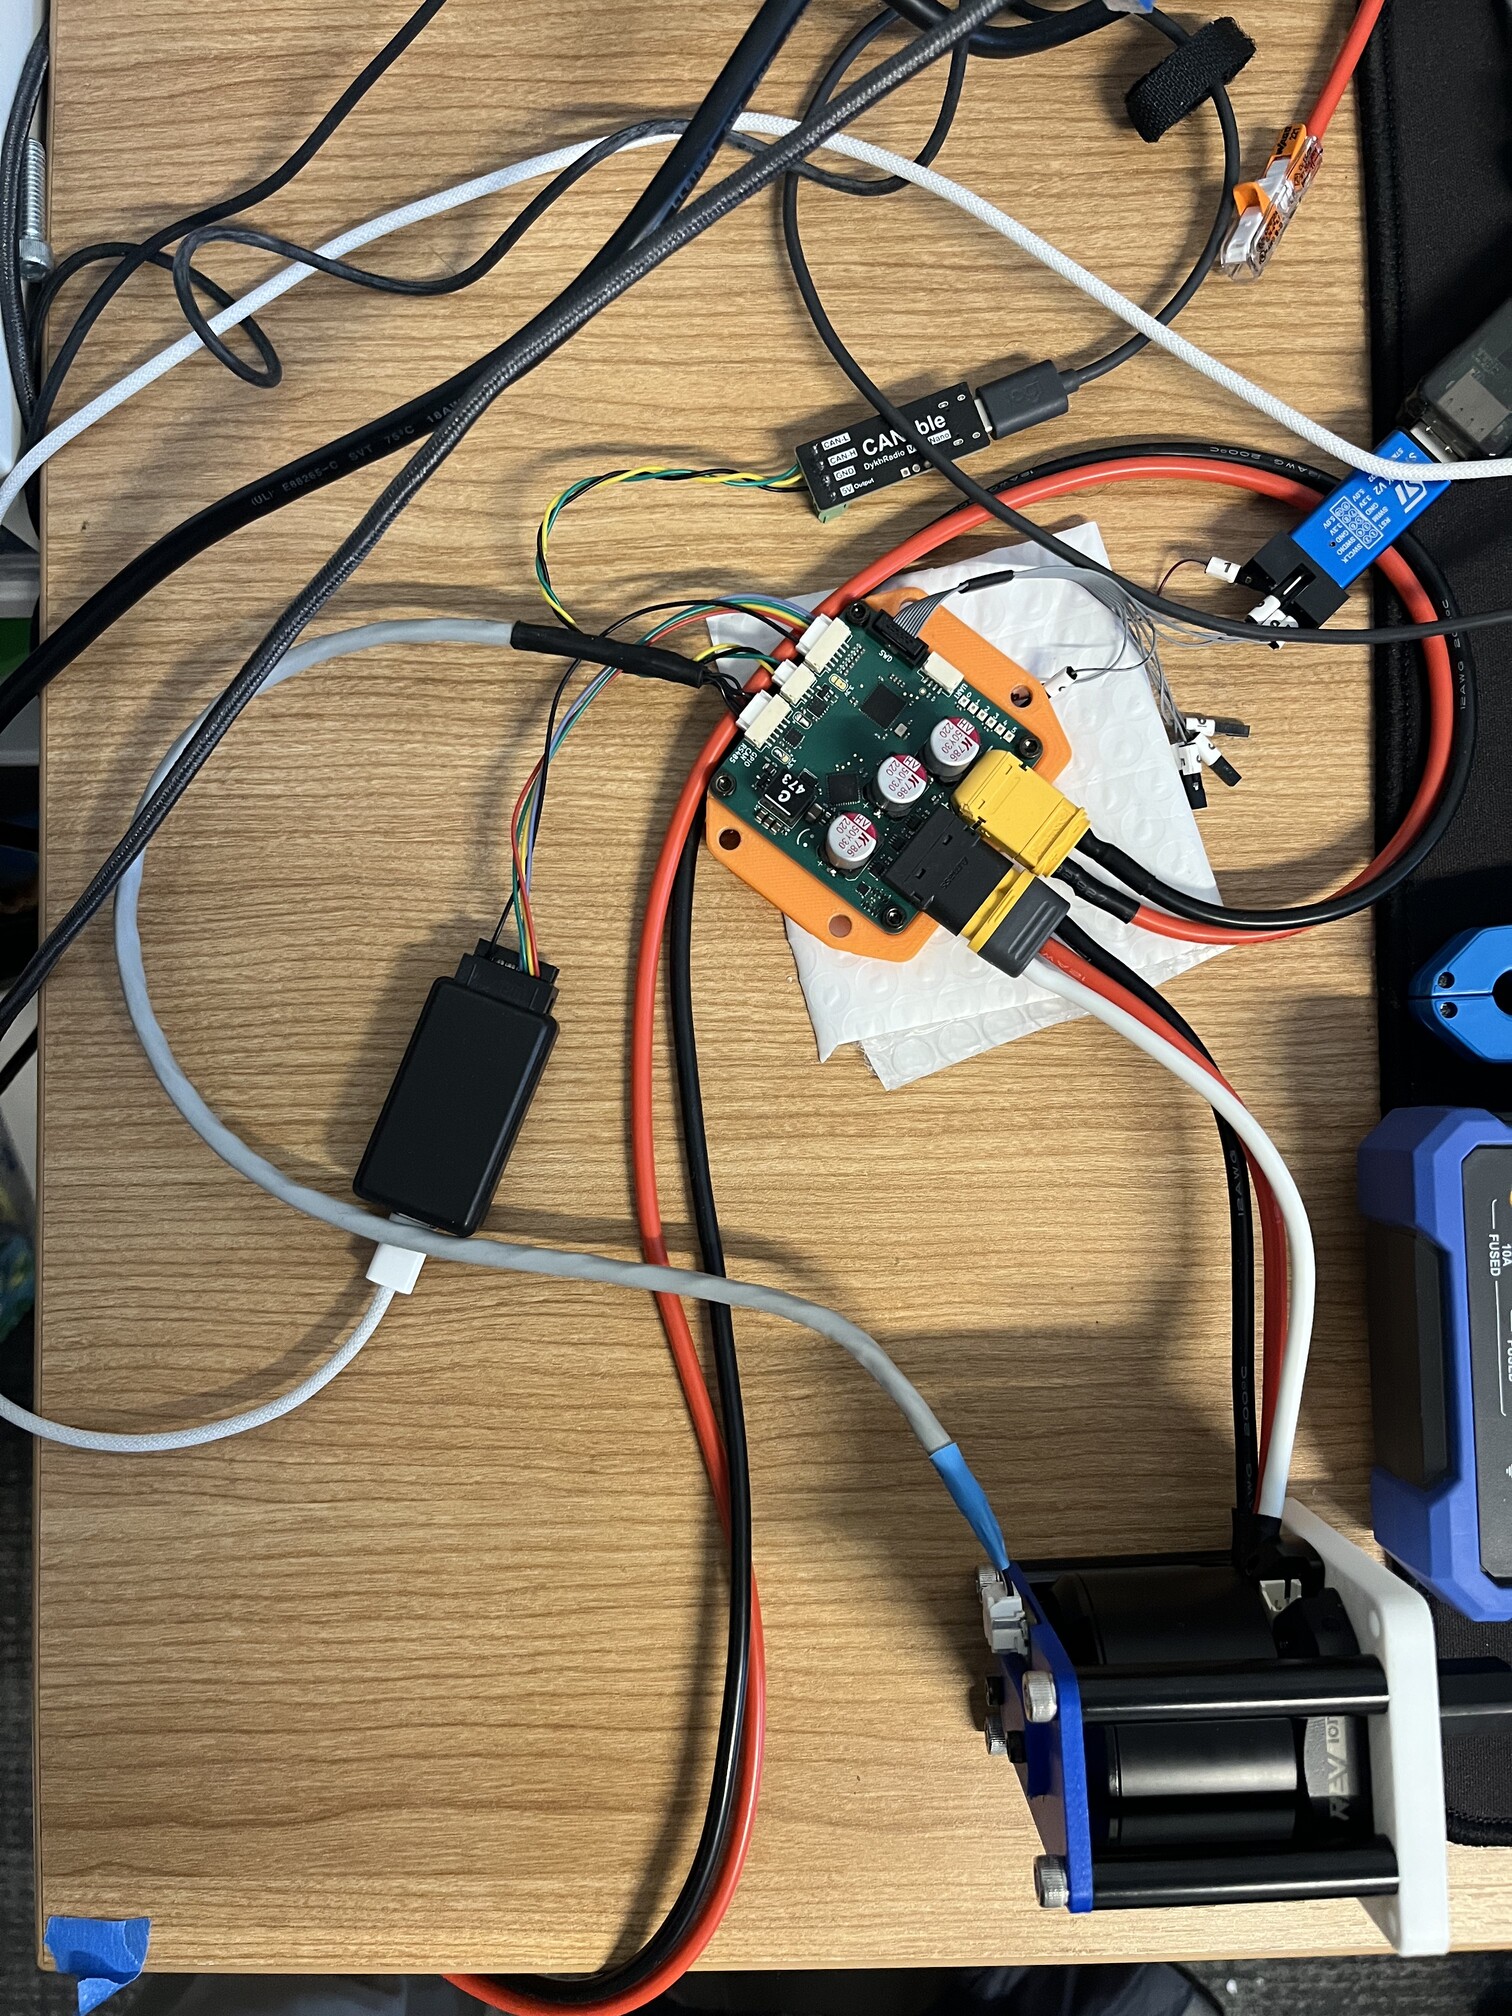
Firmware development setup
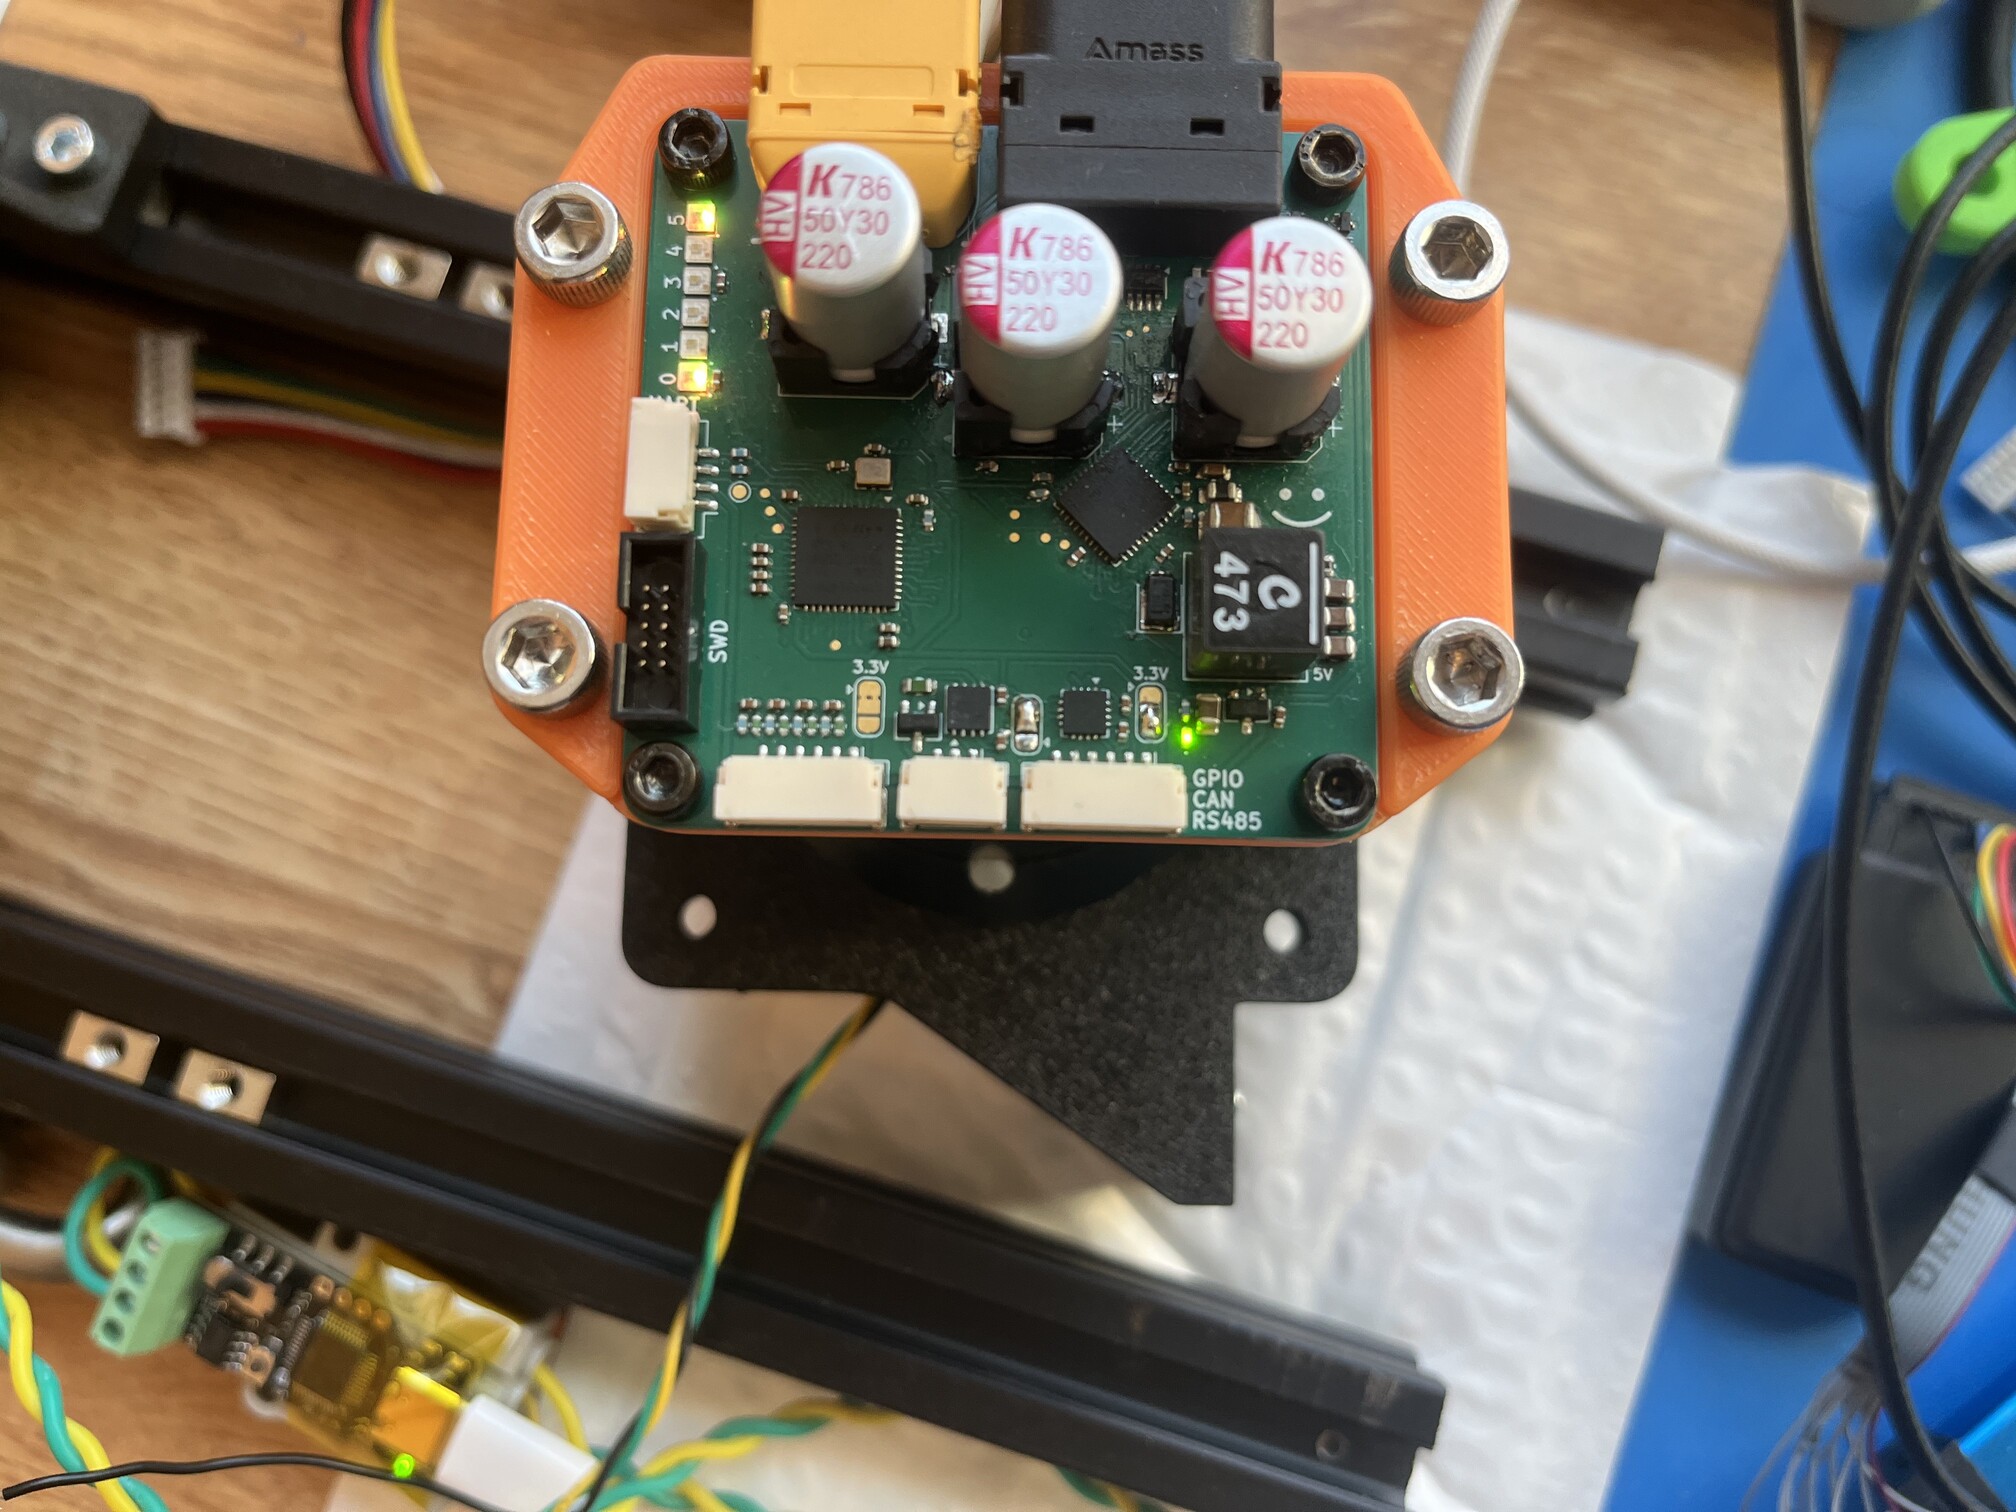
LED encoder display and closeup
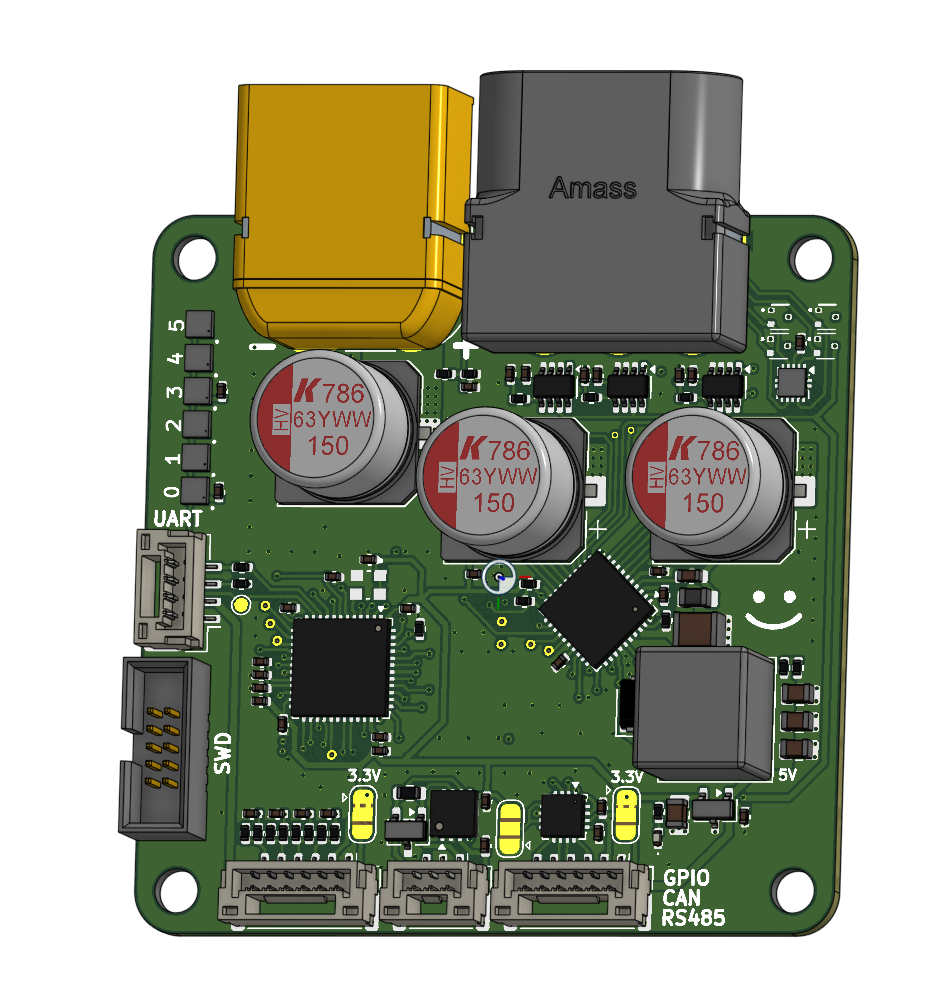
PCB CAD Model
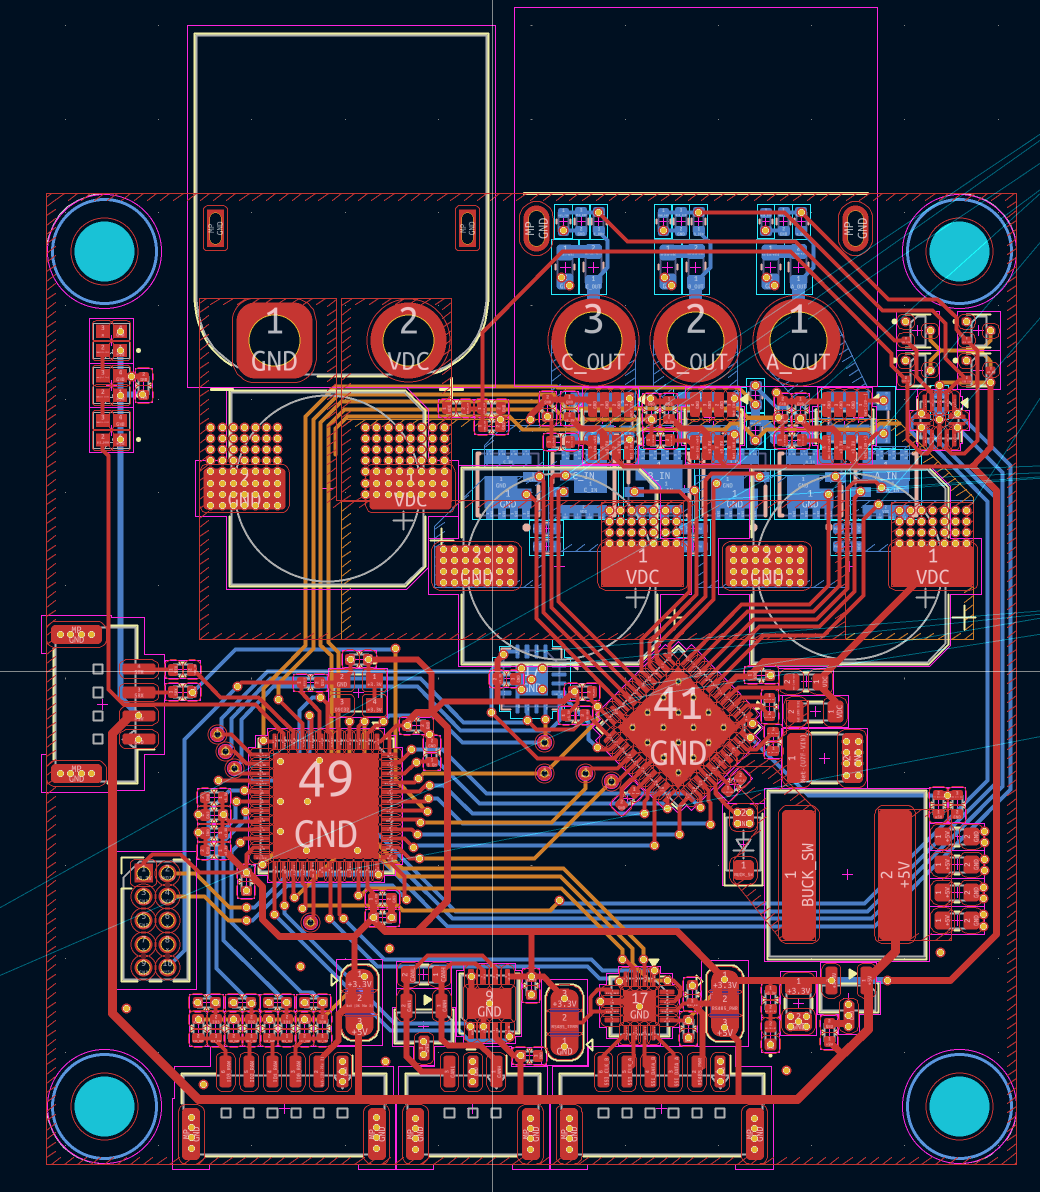
PCB internal routing (planes hidden)
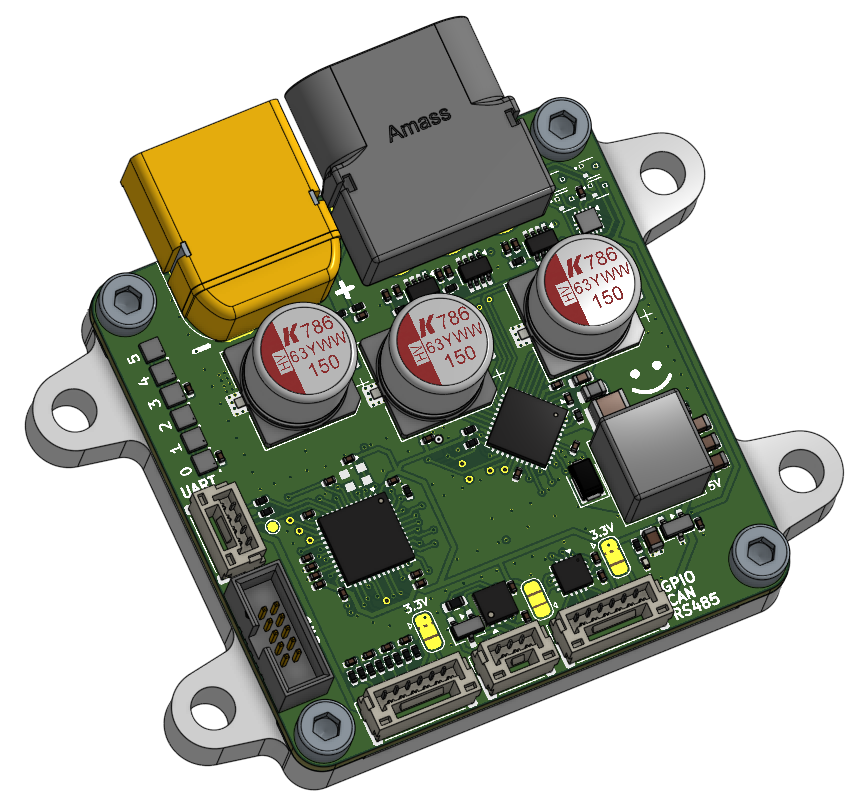
PCB mounted to aluminum heat spreader (CAD)
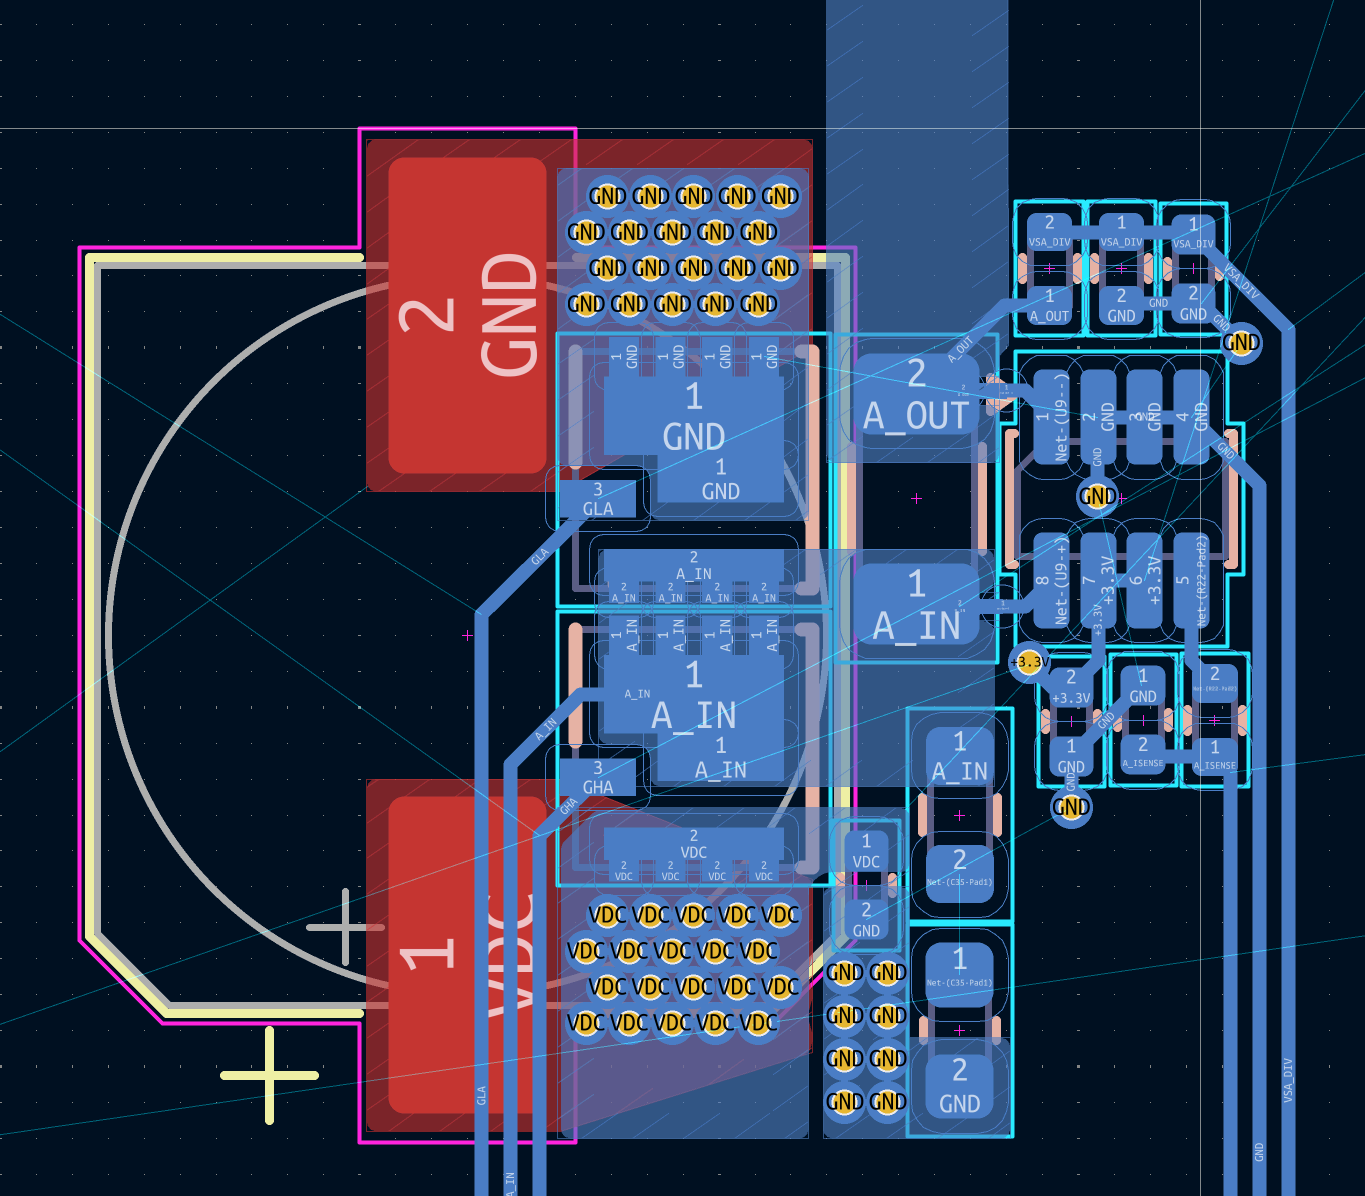
Version 1 of power stage routing for a single phase - current iteration is version 5 :)